Thursday, June 30, 2011

product review: kinnitoos chocolate vanilla sandwich cookies.

aka: gluten free oreos. I can't even remember the last time I had an oreo. Even before going GF. I never really ate cookies much. But I still remember how delicious they were. I was hesitant to try these. As most of you guys can relate to, some of these GF alternatives are scary. And by scary I mean gross!

However, these cookies were great! I honestly couldn't tell the difference. Part of that could be that my taste buds have given up hope of good food and now I can't even tell the difference anymore. BUT I don't think that is the case :)

These are a great alternative. I would say they probably taste like a generic brand of oreos. You know, not quite the same thing but still good. I made a dessert with them and I thought it turned out pretty good. I'll try to post it at the end of the week!

xoxo
katy

Tuesday, June 7, 2011

product review: udi's whole grain bread.

I have fallen in love. With this bread. I can't lie... most GF stuff is pretty gross. Okay, so maybe not gross. Just not quite as good as normal food. This has definitely made bread taste good again. Like most GF stuff, it is pricey. I spend about $5.00 on a loaf. But the nice thing is it goes on sale at Henry's Market quite a bit. Last week it was on sale for $3.99. You know I picked up a few loafs to store in my freezer. Speaking of freezer... this bread doesn't need to be frozen. No, you didn't read this wrong. It does not need to be frozen. I keep it in the refrigerator to save it a little longer... but it doesn't even need that. I like that I can pull it out and it doesn't have to be defrosted or toasted to taste halfway decent.

Go get it. Seriously... it is worth the $5.00. You can thank me later :)

xoxo
katy

Monday, June 6, 2011

cinnamon roll cake.

Who doesn't like cinnamon rolls? Ya, nobody. They are amazing. Now, I never actually eat them because I'm pretty sure eventually you would have to carry me out of my house via a crane. But every once in awhile it is good to treat yourself to something sweet. Unfortunately sweets are hard to come by. So I found this recipe via Picky Palate and thought I would make it GF.

For the cake:
3 cups of gluten free flour blend
1 1/2 tsp xanthan gum
1/4 tsp salt
1 cup sugar
4 teaspoons of baking powder
1 1/2 cups milk
2 eggs
2 tsp vanilla extract
1 stick of butter, melted

For the streusel:
2 sticks of butter, softened
1 cup brown sugar
2 tbsp gluten free flour blend
1 tbsp cinnamon

Cream cheese frosting:
8 oz cream cheese, softened
1/2 cup of butter, softened
2 tsp vanilla extract
4 cups powdered sugar

Preheat the oven to 350 degrees. Mix together GF flour, xanthan gum, salt, sugar, milk, eggs and vanilla. After all of it is combined, stir in melted butter. Pour the batter into a 9x13 greased baking dish and set aside. In another bowl mix together the the butter, brown sugar, GF flour, and cinnamon until combined. Pour the streusel over the top of the batter and with a knife swirl through the cake. Place in the oven for 25-30 minutes.

While that is cooking, in a large bowl mix together the cream cheese and butter until it gets a nice creamy texture. Once combined, add in the vanilla. Then mix in the powdered sugar slowly. Once the cake is done cooking and is cooled, frost the cake with the cream cheese frosting and serve!


I love cream cheese frosting so I decided to do that instead of the glaze it originally called for. This cake was A M A Z I N G! Everyone loved it! Nobody could tell it was GF. Which obviously means my work  is done :)

My sister is a photographer, you can check her out at Melissa Vossler Photography. She is helping me update things around here... and what better place to start than with new pictures. I happened to have this cake made so we took a picture of me enjoying a bite. I figured it was fitting to share it on this post.


See, I really did like it... but maybe not as much as how corny this photo is :)

xoxo,
katy

Thursday, May 19, 2011

hey shorty, it's your birthday

It was my birthday a few months back and what better way to celebrate than homemade cupcakes??

I actually never eat birthday cake or cupcakes but something about not actually being able to really makes you crave them... :) Plus, I knew I was going to be hanging out with 3 pretty cute kids and I thought they might enjoy a cupcake or two.

I decided to swing by the market and pick up a box of GF cake mix, pudding, frosting and of course sprinkles and candles.

The recipe is super simple to make..

1 box of GF yellow cake mix (I used Betty Crocker GF Yellow Cake Mix)
1/4 cup of instant vanilla pudding (I used JELL-O Instant Vanilla Pudding)
1 jar of chocolate frosting (I used Betty Crocker Milk Chocolate Frosting)
Sprinkles

First make the instant pudding according to the directions and let it set. I usually only make half because I use so little of it. Then in the mixer make the cake according to the directions. After the batter is made, mix in the pudding. The pudding helps make the cupcake a little more moist. Sometimes what is lacking in GF cakes.

Once the cupcakes cook through add some frosting, sprinkles and a candle. Perfect way to celebrate your GF birthday... well that and these guys helping you blow out the candles.
These cupcakes were delicious. I don't think my roommates appreciated me leaving them out on the counter... but I think they definitely enjoyed a few :)

And can you blame them?? Yep, they tasted as good as they look :)

xoxo
katy


Monday, May 16, 2011

product review: ancient harvest quinoa pasta.

Pasta. Gluten free pasta. Where to even begin. To find a pasta that taste similar to the original is pretty tough... and since I am an Italian girl, I have the bar set pretty high.

I have tried all types of GF pasta. Different brands, shapes, colors...you name it, I've tried it. I haven't been impressed. Until now. This quinoa pasta is fantastic! Seriously, even my non gluten free friends can eat it and actually enjoy it. I don't know, for some reason that always makes me feel like I have conquered something. It is fairly inexpensive too. I think a box of this cost a little over $2.00 at Mother's Market. Which isn't too bad considering it can last me for 4 or 5 meals... unless of course i'm cooking for my beau in which case it is good for one great dinner. 1 serving for me... 3 for him :)

This pasta is definitely worth checking out!

xoxo
katy

Wednesday, March 16, 2011

sometimes things are worth eating twice... or six times.

I am pretty excited to share this next recipe. Sometimes I get a little too enthusiastic when I come up with a good recipe. I made this and seriously ate it a million different ways. And every time it was just as delicious. If you couldn't tell, I am a huge fan of Mexican food. For me it is the easiest to cook at home and get tons of flavor but still keep it low calorie. I feel like such a dork for it, but I can live with that.

So here is what the recipe consisted of.

Ingredients:
1 tbs olive oil
1/4 cup of white onions, chopped
1/2 cup black beans
1/2 cup of corn kernels, fresh or frozen
1/4 cup green bell pepper, chopped.
1 jalapeno seeded and finely chopped. (I use a half of one because I don't seed mine.. cause I like the heat)
1 whole chicken breast, cut into small pieces
1/4 cup of GF salsa
corn tortillas (I use Extra Thin Corn Tortillas)
shredded cheese
1 lime


In a large saucepan heat olive oil over medium heat. Add in the onions and let them cook until transparent. Then add in the black beans, corn, bell peppers, and jalapeno. Cook for about 5-8 minutes.  You'll know when it is ready. Once that is cooked, transfer it to a bowl and in the same pan and add the chicken. You can add in a little bit of olive oil if you'd like. Once the chicken is cooked about halfway through, add the salsa. Let the chicken cook through. Once it is, transfer the chicken to a cutting board and chop it up. Once it is chopped up, add it to the vegetables and beans, squeeze the lime over it and mix it up.


Avocado Dip:
1 avocado
1 jalapeno, seeded and chopped (I also use about 3/4 of the jalapeno and i don't seed it... i like for mine to be extra spicy!)
1 lime
dash of salt

Add the avocado, jalapeno, lime juice and salt in a bowl and puree it until smooth with an immersion blender. Mine actually just broke, so i use my magic bullet :)


I've literally eaten it a bunch of different ways. You can try any of the following:

As a taco. 


As a Quesadilla


As a baked taquito


For the taco:  
Wrap the tortillas in a wet paper towel and heat for about 20 seconds. This helps the tortillas from falling apart. Spread the avocado dip on the bottom and then add the mixture on top and sprinkle with cheese.


For the quesadilla:
In a small skillet, add a little olive oil and let it heat up. Once it has, place one of the tortillas as the bottom and add a small layer of cheese. Add the mixture on top and then sprinkle a little more cheese on top of that. Then place the other tortilla on top. Once it starts to brown on the bottom, flip over and allow for the other side to brown.  Cut up and serve with salsa and avocado dip.


For the taquito:
Preheat the oven to 400 degrees. In a small skillet, add a couple drops of olive oil and heat up the tortillas a little on each side. This helps when rolling them. Once they are warm, add a few tablespoons of the mixture and sprinkle cheese on top. Then roll them and place them on a greased baking sheet. Cook for about 12 minutes until crispy. Serve with salsa and avocado dip.

One night I sprinkled some cheese on top and ate it by itself... it was really good that way too! As you can see, I thoroughly enjoyed this dish. I hope you guys like it as much as I did :)

xoxo
katy


Monday, March 14, 2011

chocolate chip cookies.

I've actually tried out a few different ready made GF cookies. It wasn't good. It wasn't good at all. I thought i'd try making them from scratch. I'm SO glad I did. They were so good! No grainy aftertaste or crumble. They didn't even taste gluten free. All of my roommates taste tested one and approved... and they would be honest. Especially my favorite little brunette who is a chocolate chip cookie connoisseur :)

Ingredients: 
(makes about 2 dozen cookies)
2 1/4 cups gluten free flour blend
1 tsp baking soda
1/2 tsp salt
1 tsp xanthan gum
2 sticks of GF butter, softened
3/4 cup sugar
3/4 cup brown sugar
2 tsp GF vanilla extract
2 eggs
2 cups of GF chocolate chips

Preheat oven to 375 degrees. In a mixer add butter, sugar and brown sugar. Mix together until smooth. Add vanilla and eggs and continue to mix. Slowly add the flour, baking soda, salt and xanthan gum. Mix until well combined... then add the chocolate chips. Drop the cookie dough (about the size of 2 tablespoons) on a greased cookie sheet and cook for about 10 minutes or until golden brown. I like mine to be really soft in the middle, so if you prefer yours with more crunch let them cook a little longer. Just make sure you are watching so they don't burn.


They turned out WAY better than I expected. I can't wait for my non gluten free taste tester to try them out... unfortunately for him, he has tasted all of those ready made cookies. So I'm hoping to get his stamp of approval and hopefully earn a few points for a fantastic gluten free chocolate chip cookie :)

Tuesday, March 8, 2011

egg scramble: 1

I love a good egg scramble. Maybe mostly because I haven't yet conquered an omelette. Also, you can add way more to a scramble than an omelette without it all falling apart. Although, it falling apart could be because of my lack of skill, which is probably more likely. I'm sure I will post a ton of different types of scrambles I make... it's my go to breakfast. I know you are excited:)

Ingredients:
3 eggs
white onion, chopped
tomatoes, chopped
broccoli, chopped
shredded cheese
(optional) a slice of toast with light butter.

Heat a skillet over medium heat... I usually add a little Olive Oil Pam once it is hot enough to help with the sticking. Crack the eggs into a bowl (I use one whole egg and two egg whites. I just separate the yoke from the egg white) and whisk the eggs. You can use however much or little of the veggies as you'd like. Mine is more of a veggie scramble with a little egg added in.. but it is definitely however you'd prefer yours to be. So mix in the chopped veggies to the whisked eggs and pour into the heated skillet. I use a silicone spatula and continue to scramble the egg mixture all together until it is cooked all the way through.


xoxo
katy

Wednesday, March 2, 2011

gooey butter cake.

This next recipe is inspired from Paula Deen. I just changed a few things to make it gluten free friendly. Here is what I did.

Ingredients: 
1 box of yellow cake mix (I used Betty Crocker GF Yellow Cake Mix)
3 egg
1 stick of butter
8oz cream cheese
4 cups powdered sugar
1 tsp vanilla extract
1 package JELL-O vanilla instant pudding (You only use 1/4 cup)


Preheat the oven to 300 degrees. Make the pudding according to the directions and let is set. You only need a little bit of the pudding, so unless you wanted to save the rest of it to eat later, you end up wasting most of it.

In a separate bowl mix together the yellow cake mix (you aren't following the directions from the box), softened butter,  vanilla extract, and 1 egg. The GF flour has a different consistency than a regular mix so this is why you add the pudding. I was more eyeing this when I made it... but I'm going to say that 1/4 cup is probably good. But just add it slowly to see what sort of consistency it turns out to be. You want for it to be doughy... not runny. Once it is finished, add that to the bottom of a greased 9 by 13 pan. Then in another bowl mix together the softened cream cheese, 2 eggs. Then slowly mix in the powdered sugar. Once it is all mixed together add that to the top of the cake mix. Put it in the oven for about 45 minutes until the top has browned just a little. But not too much because the center still needs to be soft.


It was VERY sweet... but very good! After tasting it though, I decided that it could use some fresh berries. I think that would make it perfect. I might pick some up tomorrow and test it out :)

xoxo
katy

Tuesday, March 1, 2011

shredded beef and pepperoncini sandwich.

So I know everyone was sitting by their computers anxiously awaiting my post on tonight's dinner. It's okay, I only judge you a little.

So I love pepperoncinis. Love them. My dad is Italian and I remember as a child watching him eat them whole... one after the other. I was totally grossed out. Until about a year ago when I realized that he might have been onto something. They are delicious! They can go on anything and everything! Or just by themselves. Yum!

My mom bought me a crock-pot a few years ago for christmas. Still one of the best gifts i've ever received. I don't use it as much as I should... probably cause I never quite know what to make in it or because i usually only cook for myself. Either way, I am going to be pulling it out more often... Especially after tonight's dinner.

Ingredients:
2.5 pounds of beef chuck roast
1 16oz can of deli sliced pepperoncinis
reduced fat provolone cheese
GF buns or bread (I used Udi's Whole Grain Bread)


Place the roast in the crock-pot and pour the entire bottle of pepperoncinis over the roast. Cook on Low for about 8 hours. Give or take 20 minutes. Once the roast is done, pull it out onto a cutting board and shred it with a fork, removing any excess fat. Once it is all shredded, put the meat inside a bowl and scoop out any leftover pepperoncinis from the crock-pot and stir them in with the meat. I have never been a big salt and pepper on my food kind of a girl, probably a trait from my mother, but it might need a little salt and pepper on the meat once it is all shredded.


I toasted a piece of GF bread (But also bought some regular buns for my non gluten free taste tester) and  then melted a piece of provolone cheese on top in the microwave.

Okay, I don't want to brag but this was DELICIOUS! I couldn't even believe it. Especially because it was SO easy! The meat was tender and moist and the pepperoncinis added just the right amount of tangy flavor... then top it off with the provolone and it tied it all together perfectly. And honestly, even if you don't like pepperoncinis you would probably still like this.

I didn't really need a side with this. The sandwich was enough for me... but I know that men like to have a little something extra with their meals, so I whipped up a small batch of mashed potatoes for my favorite little taste tester.

I hope you guys try this out sometime.. you won't be sorry!

xoxo
katy

Wednesday, February 23, 2011

samoa inspired gluten free cookies.

I am not a baker. I repeat, I am not a baker. It is way too much work to bake. Everything has to be so precise. You can't miss a step or do anything out of order. Way to much work for me. Sadly, gluten free baking is so much harder. You have to mix all these different types of flours together to make one that tastes normal... and most of them still don't. You have to make sure that you have just the right amount of xanthan gum per cup of flour you use... it is sticky and gross...ahh! But, I figure I have a long life ahead of me (cross my fingers) so I better have a few good baking recipes up my sleeve.

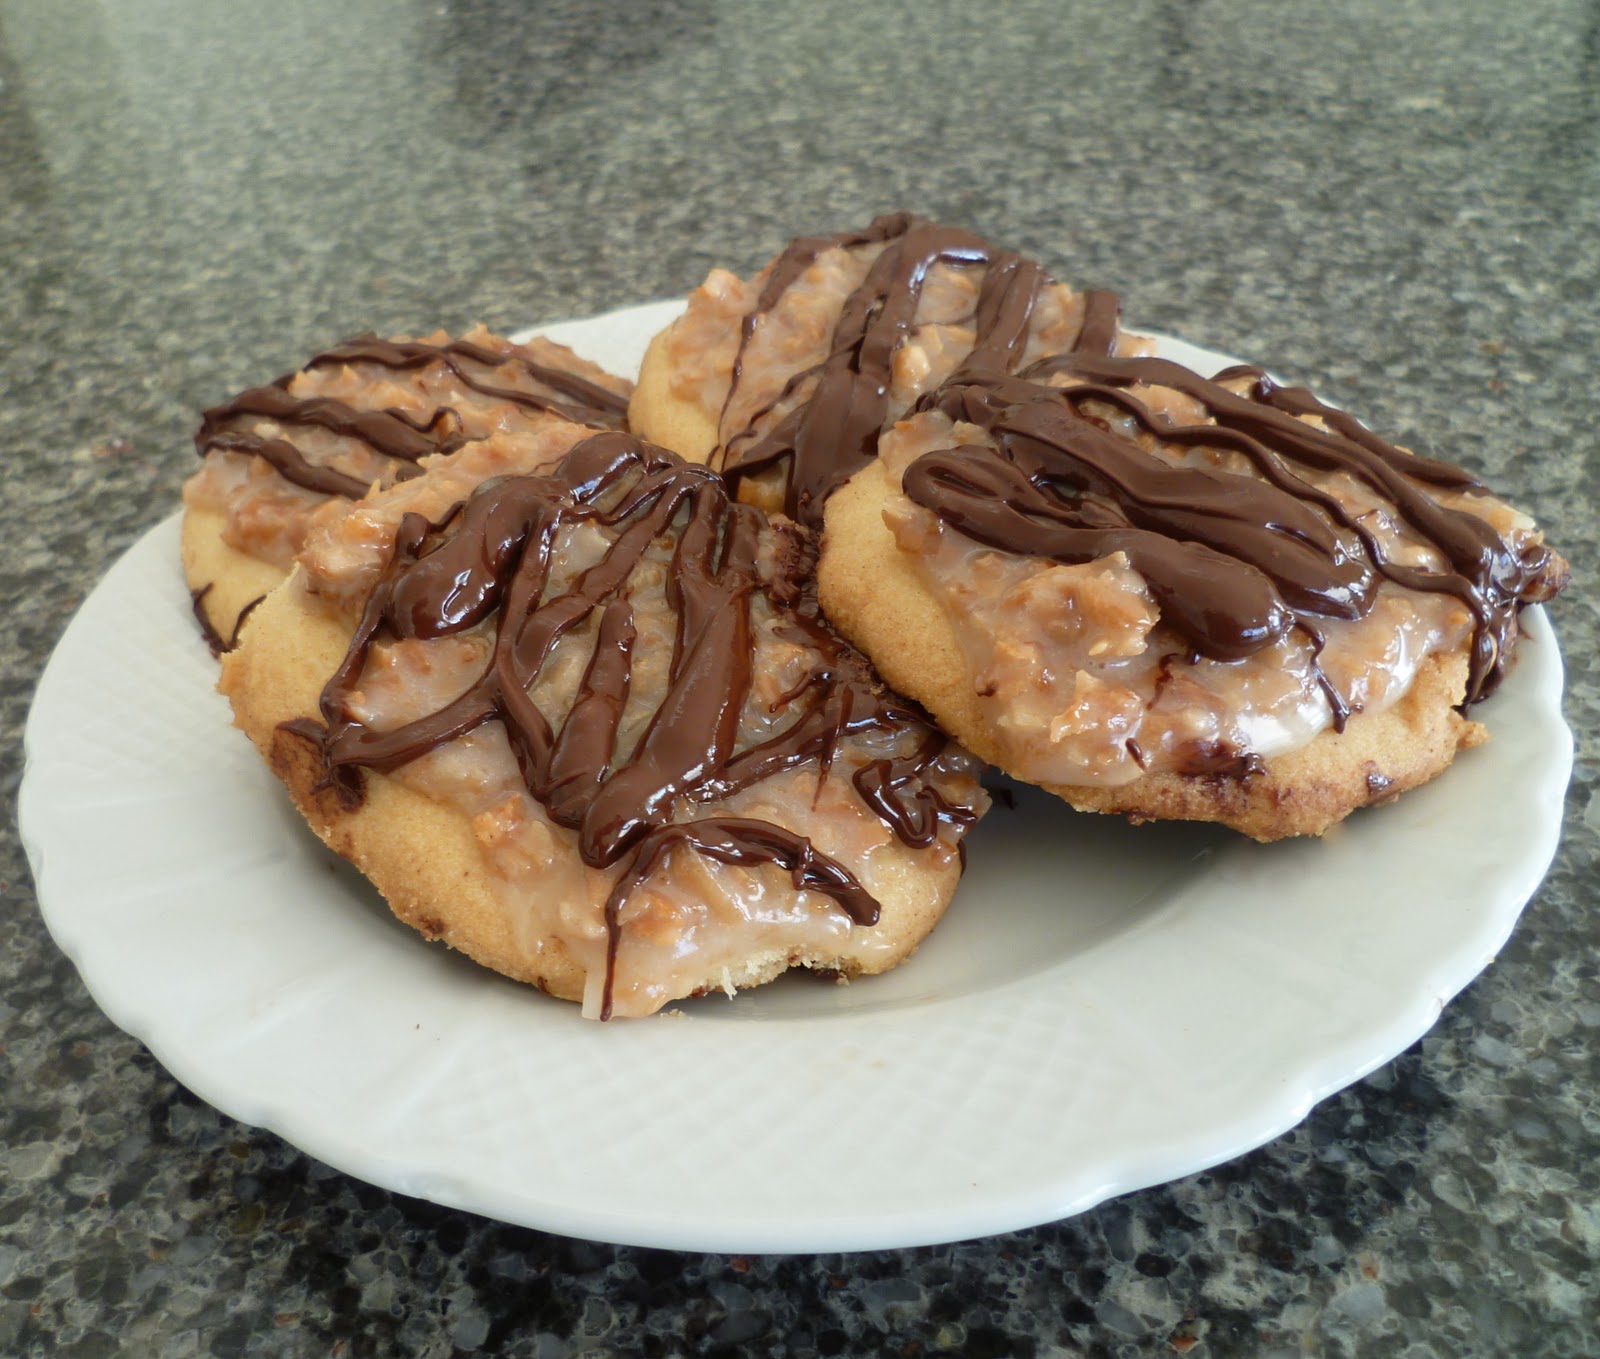
My roommate came home from work the other day with a few boxes of girl scout cookies in her hand. A small part of me wanted to cry (punch her). In all honesty, I'm not much of a sweet eater. I learned a long time ago to cut that out of my diet and pretty much have lived with that. It is a rare occasion that I want to indulge in desert or candy. Girl scout cookie time, might be one of them. Samoa cookies are amazing. If you haven't had them... please go out and find a girl scout ASAP and get yourself some... unless of course you are a glutard like me... in which case steer clear of those gluten filled cookies. Instead, you can just go ahead and make some gluten free samoa inspired cookies for yourself. 

I found the recipe on the cutest little blog ever, A Bicycle Built for Two. I just modified it a little. Here is what I did. 

for the cookie
1 cup softened butter
1/2 cup sugar
1/2 tsp xanthan gum
1/2 teaspoon salt
1/4 teaspoon baking powder
1/2 teaspoon vanilla extract
1 tablespoon milk

for the topping:
6 tbs butter
1/2 cup sugar
1/2 cup corn syrup
1/2 cup condensed milk
1/2 tsp vanilla
2 1/2 cups toasted coconut
1 bag of chocolate chips

Preheat oven to 300 degrees. Add the coconut to a cookie sheet and toast for about 10 minutes. Make sure you are watching that very closely so it doesn't burn. I stirred it every couple minutes to be safe. Once that is done toasting. Take it out and let it cool. Turn the oven up to 350 degrees.

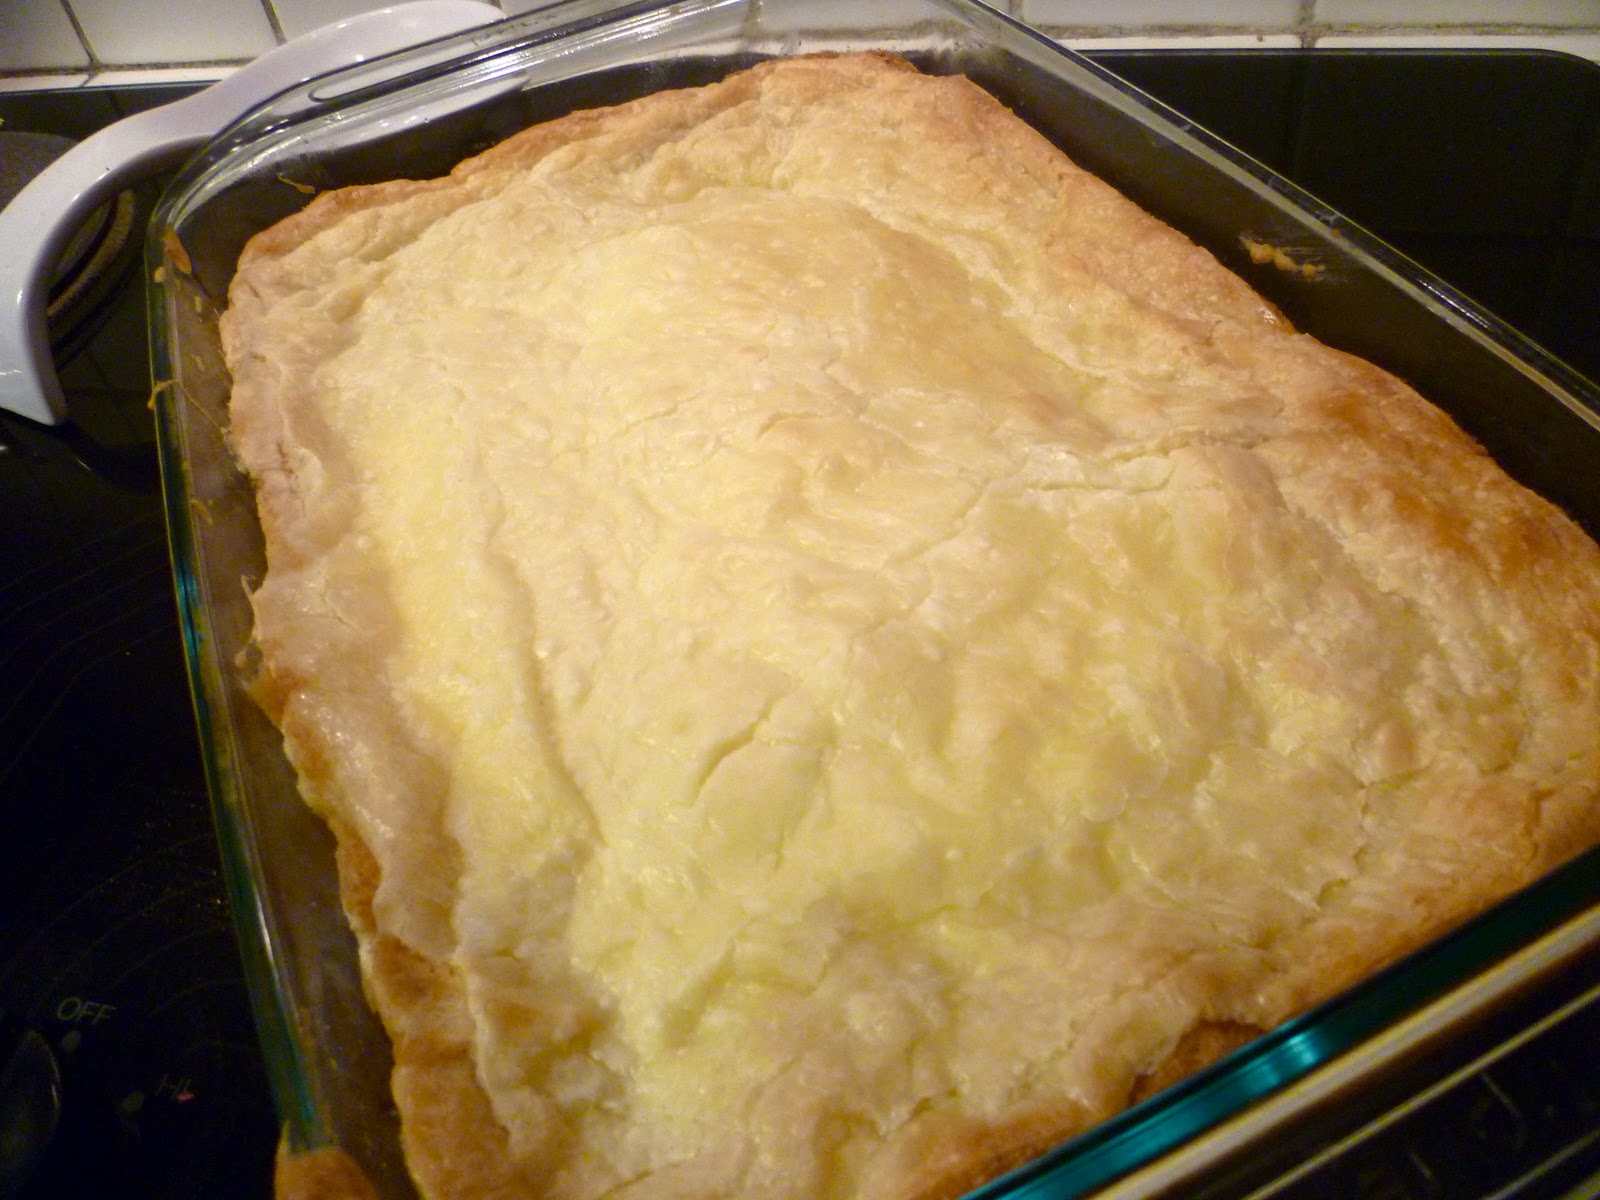
In a large bowl mix the butter and sugar. Then slowly add the flour, xanthan gum, salt and baking powder. Then add vanilla extract and milk. Once it is all stirred in together, I finished mixing it all with my hands until it turned into a perfect dough. Now, roll the dough out and cut out small circles with a cookie cutter or anything else that will make small circles (this part is where I failed miserably. I made my cookies entirely too big! Next time, I plan on purchasing a small cooking cutter to make the cookies look a lot closer to an actual samoa) So do that until all the cookie dough is gone. Once the circles are done, cutout the middles. I just used a straw and sort of pushed out the circles until they were big enough for my liking. You can always skip this step if it really doesn't matter to you. It will save you a lot of time and energy later on. 

Once the cookies are all cutout, add them to a cookie sheet that is covered with parchment paper. Bake for about 12 minutes until they are golden brown. Take them out and let them cool.

In a small microwavable bowl, melt about half of the chocolate chips. Stirring every 30-40 seconds. Once the cookies are cooled, spread the chocolate on the bottom with a spatula or knife and place the cookie chocolate side up back on the parchment paper and cool in the refrigerator. 

While the chocolate is setting, in a saucepan over medium heat, add the butter, sugar and corn syrup. Don't stop stirring that. Once it has been brought to a boil, let it boil for about 4-5 minutes. Turn the heat down and stir in the condensed milk. Continue to stir for a few more minutes until it gets to be a pretty thick consistency. Once it has thickened add the vanilla and remove from heat. Pour that into a mixer and stir in the toasted coconut slowly. 

Once the chocolate has set, take them out of the refrigerator and add the topping using a knife. Then microwave the other half of the chocolate chips, again stirring every 30-40 seconds. Once the chocolate is melted, let them cool down a little then add them to a ziplock bag and cut a small hole in the corner of it and place a nice drizzle on the top. You can put them back in the refrigerator to let the drizzle and topping set for about 5-10 minutes. Then they are ready to eat!


As you can see, my drizzle is a hot mess! By the end of making this, I was tired and well, over it. Next time, I hope for this cookie to not only taste as good as it does, but for it to look even better!


xoxo
katy 

*Make sure you always double check all your ingredients to make sure they are 100% gluten free.


gluten free flour blend.

Here is one that I think works great!


6 cups brown rice flour (extra finely ground)
2 cups potato starch
1 cup tapioca flour


This doesn't include the xanthan gum. So you can add that to whatever recipe you are making. The ratio of xanthan gum to gluten free flour varies depending on what you are making. So if a gluten free recipe doesn't already tell you, you can google it to find out. :)

xoxo
katy

Monday, February 14, 2011

fried.

I have never fried food before. So when I decided to take on the task of cooking up some fried deliciousness, I felt a little overwhelmed. 

Was the oil going to be hot enough?

Was it going to be too hot?

How do I know when it has cooked thoroughly?

And since I wasn't just feeding myself, the pressure was on. 

Since going gluten free, I have felt this out-of-control need to turn everyone on to enjoying gluten free food. Seriously, I am determined to make food that people won't even be able to tell the difference between what is "normal" and what is GF. 

So far, I haven't done as well as i'd hoped. Until the other night when I made...

Gluten Free Fried Chicken
Gluten Free Buffalo Wing Style Fried Chicken 
Gluten Free Beer Battered Onion Rings. 

I figured I would get all my frying out of the way in one night, since I much prefer to cook meals on the healthier side. Although I must admit, frying was a ton of fun! I felt dangerous as I tossed the food into the sizzling hot oil. I didn't, however, feel all that dangerous when I would scream like a little girl when the oil would splatter on me.

So here are the recipes:

GF Fried Chicken:
oil (any oil that can take high heat)
1 pound of chicken
3 eggs
1 1/2 cups of GF flour (I used Bob's Red Mill Gluten-Free All Purpose Flour)
1 tbs of garlic powder
salt and pepper

Heat Oil in pan. Should be about 1/4 inch think. While the oil is heating, was the chicken and dry. Salt and pepper the chicken. Then in one bowl crack all three eggs and scramble really well. In another bowl, place the GF flour and garlic powder.Dredge the chicken in the eggs, then into the flour, then back into the eggs and back into the four. That way it gets a really good coating to it. Once all of the chicken is coated, place as many pieces into the hot oil as you can fit without them touching. Fry until they are a golden brown and then serve! 

Optional: GF buffalo style chicken tenders

After you fry the chicken, place the desired amount of buffalo wing sauce into a ziplock bag and coat them evenly. Cut up a few celery sticks to serve along side them. 

Beer Battered Onion Rings 
oil (any oil that can take high heat)
1 white onion
1 egg white
1 cup GF beer (I used Redbridge)
Salt and pepper

Heat oil on high (about 375 degrees) Chop onions about 1/2 inch think and set aside. In one bowl, beat the egg white. In another bowl put the GF beer and GF flour, mix well. Once mixed, add in the egg white and mix again. Season with a little salt and pepper. Drop a few of the onions into the batter at a time. Leaving them for a minute or two to coat. Once they are coated, drop them into the heated oil. Make sure to do this carefully so the rings don't stick together. Also, you want the rings to float not sink. Fry until they are golden brown.

I didn't use a a cooking thermometer, but probably would next night. My oil got a little too hot and I burned the fist batch of onion rings. After some research, I see that you have to keep the oil at a pretty regulated temperature. 

Seriously, considering this was my first time frying I think it as a success. The boy seemed to enjoy it as well, which is a pretty tough feat considering how picky he is. That and his extensive knowledge of what fried food should taste like!

Hope you enjoy these recipes as much as we did. 


*Make sure you always double check all your ingredients to make sure they are 100% gluten free.

Tuesday, February 8, 2011

baked chicken taquitos.

First official post :)

I thought I would start with such a great recipe I found on the Whole Foods website. I seriously make this dish all the time. Not only is it super easy to make, but it doesn't taste like something that is "gluten free". 

Ingredients:
1 tablespoon olive oil, more for brushing tortillas 
1 cup chopped onion 
2 cloves garlic, chopped 
1 teaspoon ground cumin 
1 teaspoon paprika 
1/2 teaspoon sea salt 
1/4 cup chopped cilantro 
2 cups shredded cooked chicken meat 
2 cups low-sodium, gluten-free chicken broth 
12 (6-inch) corn tortillas 
1 cup crumbled queso fresco or shredded Monterey jack or cheddar
Preheat oven to 425°F and oil a baking sheet. Heat olive oil over medium heat in a skillet. Add onion and cook until starting to soften and turn translucent, 3 to 5 minutes. Add garlic, cumin, paprika and salt. Stir to combine and cook 2 to 3 minutes longer, until fragrant. Take from heat and stir in cilantro and chicken. Set aside. 

Bring chicken broth to a simmer in a skillet or pot wide enough to hold tortillas. When broth simmers, dip tortillas briefly, one at a time, just to soften, 1 to 2 seconds. Lay tortilla on a work surface and spread 2 or 3 tablespoons chicken mixture over bottom third. Top with a tablespoon of cheese and roll up. Place seam side down on the baking sheet. Repeat with remaining tortillas. Spray or brush tortillas lightly with oil and bake until crisp and lightly browned, 12 to 15 minutes. Serve immediately. You can add a little avocado dip too.


I modify a few things when I make them. I skip the chicken broth. I just take about 1 teaspoon of olive oil and spread it out over the 12 taquitos and heat them in a small skillet prior to rolling them. The chicken broth didn't soften them enough and would cause them to split  when I tried to roll them. Also, I only use about 1/2 a cup of light cheese (and you can totally do without the cheese and they still taste great!) and corn tortillas that are about 4o calories each. I try to cut calories where I can and with those modifications the recipe it is about 105 calories per taquito. Which is pretty amazing if you ask me!

Hope you enjoy the recipe!

xoxo
katy